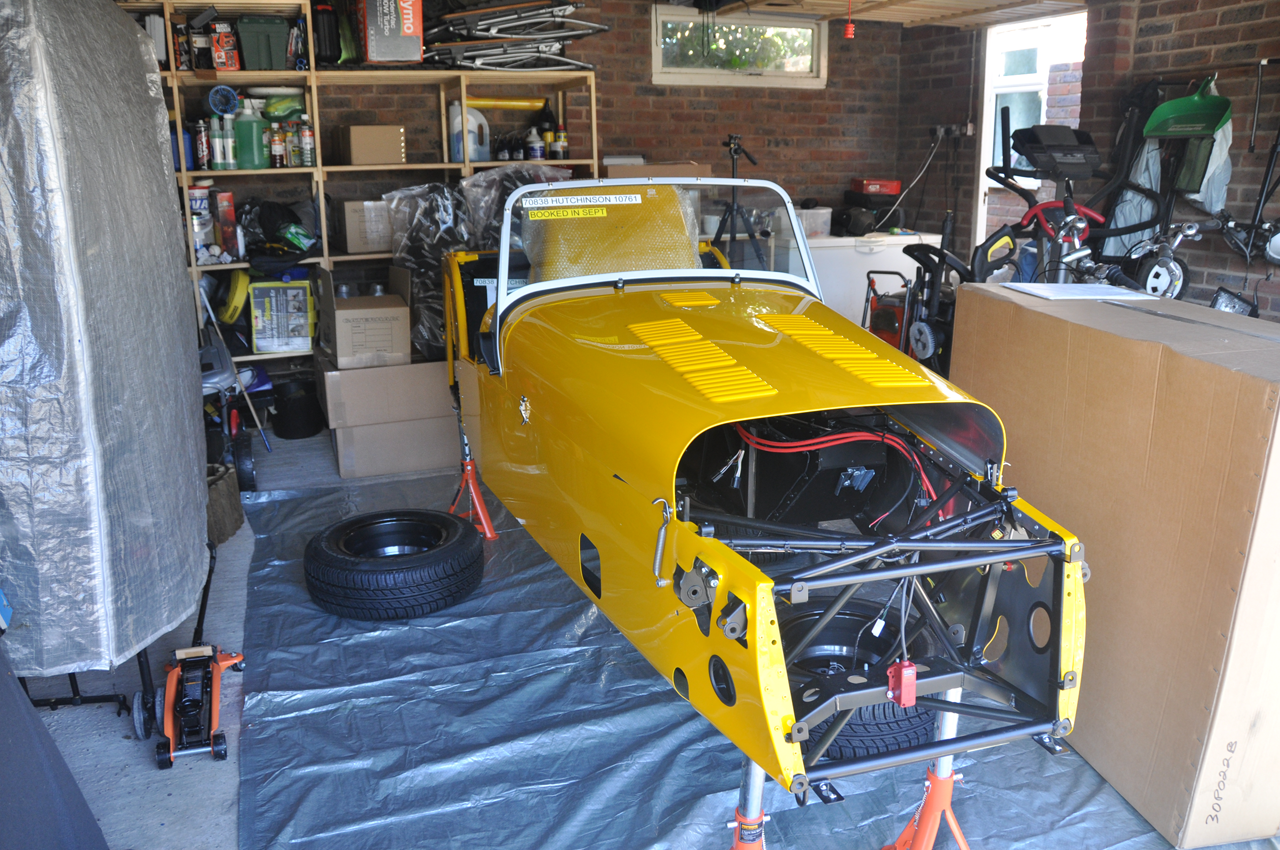
Day 3 Summary

My dad and brother-in-law were down today and really helped me speed along with the build. We had some big items on the agenda, and, for the most part, got everything ticked off the list.

We fitted:

  • the handbrake and cable,
  • differential,
  • propshaft,
  • gearbox
  • bellhousing
  • washer bottle and washer jet (and piping)
  • horns

We also managed to prep the engine bay for engine fitment tomorrow. All in all, a very productive day and things are moving along at quite a good rate – especially considering the thing was only delivered 3 days ago!

Hopefully tomorrow will see the engine in place and as much of the rear axel done before the roll cage needs to go in (the roll cage needs to be fitted before the rear damper unit can go in – the seatbelts and seats need to go in before the rollcage goes on – the trimming and panneling in the cockpit needs doing before the seats can go in – the steering column needs to be fitted before the trim can be done… so it looks like there’s still a bit to go after all!

Notes on the build:

Differential
Yes, it’s a pig. It’s big and heavy and the alignment isn’t good. However, the method in the latest build manual appears to be the best one and it worked for me. Use a jack to position the diff up into the car. Once you’ve got the top bolt holes roughly in alignment, you need a long, fairly strong, but thin bar to go through the whole length of the diff and through the chassis mounts. This will ‘hang’ the diff in place. You need to pivot the diff to line up the lower holes and temporarily fit the bolts, using shim washers to centralise the diff in the chassis. Measure carefully to avoid heartache! We found a nice straight edge on the rear anti-roll bar mounts and a tape measure to the same spot on the carrier each side gave accurate results.

Once its right, tighten the lower bolts (but not all the way to torque). Check the measurement again to confirm this tightening hasn’t moved anything drastically. You can then use the jack to take the weight of the diff and ‘pivot’ the carrier slightly up. Visually get the alignment through the top bolt as close to perfect as the tolerances will allow… it won’t be perfect – just go for as much as you can get. Get shim washers together that match the gaps in the between the diff and the chassis mounts, stick them together with copper grease. Then, use the diff bolt (coated in plenty of copper grease) to push out the pin bar you used to temporarily hold the top of the diff. As you reach the gap between chassis and carrier, wedge in the shim washers, use the pin to bully them into alignement and then ready the 5lb lump hammer to begin persuading the diff bolt that it does want to go into the  hole. Use as much force as necessary but make sure you’re not stuck on washers etc.

Once at the final chassis mount, it’s likely that this is nowhere near in alignment. You may need to tweak the jack a little but you can also help things along by using something to lever the bush in the chassis mount to ‘point’ towards the end the bolt. Once the bolt chamfer gets a sniff of what it needs to do, it then slides home with more persuasion from the hammer. Tighten and measure again to confirm this hasn’t put anything massively out of alignement.

Gearbox
The manual mentions several blanking plugs that need to be fitted to the gearbox – my gearbox didn’t have these holes to plug. There is one hole at the rear end of the gearbox that doesn’t initially get mentioned in the manual. This is the hole for the reverse light sensor and it is mentioned later in the manual once the gearbox is fitted (you can get to the attachment point through an access pannel in the tunnel.)

Don’t tip the gearbox up onto it’s rear end as it will gush out oil!

My gearbox had a old square filler plug socket, which means the allen key method the manual goes on about is completely redundant. It also means that my gearbox is likely impossible to fill up when installed in the car… I really hope it doesn’t spring a leak.

Prop shaft
It’s hard to try and torque up the bolts on this because it has a tendency to rotate! I guess that’s the idea of a prop shaft! I decided I’d wait until the handbrake is attached before attempting to get to required torque setting.

Engine mounts
Hellishly, these use an imperial size, which I don’t have the required allen key size or socket allen key for. Meant a trip to Halfords – and they didn’t have any either. However a chance glance at the filler plug tools section and one of them seemed to sit very nicely in the bolt head. Still, bloody annoying!

Method
I’m straying from the manual method in the transmission fitment. In my case, I don’t have too much of a choice in the matter because of the square socket filler plug. But I am installing the gearbox and bell housing in to the tunnel and then lowering the engine down horizontally to meet it. The gearbox has therefore gone in full of oil. Whether this makes the engine an absolute pig to fit correctly will be seen tomorrow! I have spoken to book-a-track mechanics and they swear by this method. I’ve also read in blogs that it helps because you don’t have the fiddle of trying to fill the gearbox in situe and you don’t have to faff about getting the angle of the car perfect.

Day 2 Summary

Another evening of building and the summary of achieved tasks is:

  • Front suspension finished off
  • Front uprights attached
  • Front brake callipers and brake pads on
  • Cycle wing-stay on

Lessons of the day…

Upright top joint attachment
With the front damper attached, the lower wishbone is pushed downwards. In order to seat the top attachment correctly, the lower wishbone has to be pushed upwards to compress the spring a little. The master stroke was using the trolley jack to make the suspension take the weight of the corner of the car. My car sits very high on it’s axle stands and my trolley jack isn’t half big enough t o reach, but we positioned the jack on a handy folding ladder and it worked a treat. Make sure you use the gold bolt to compress the joint before using the nyloc nut – but if when you get to attaching the nyloc nut, the bolt just turns in its mounting, there is a handy allen key socket in the bottom of the bolt to hold it still. The realisation that the steering can move the upright to make more room for spanners etc was also a good one!

Deep sockets needed
In order to tighten some of the bolts to torque, deep sockets are needed due to the length of the overhanging threads. I don’t have deep sockets at the moment, so will need to go and pick some up.

Front Anti-Roll Bar
It took a lot of persuading to get the balls to seat in their sockets. It took a lot of  pressure and actually went in much easier with both balls tucked into their sockets and the mounts correctly lined up with their mounts. Then it was firm pressure to each end and then a final gentle persuasion with the soft mallet to get the most reticent one to resign to its fate and slip into place.

I also found my first shortage whilst looking around for jobs to do this weekend. I can’t find the front brake hoses… Don’t think that’s going to cause a problem but it would have been nice to finish off that part of the build completely.

Likely next jobs are to get transmission in place this weekend. I’ve got my Dad and brother-in-law down, so having the extra hands and brains on hand will  be useful.

Day 1 Summary

What a whirlwind it all is when the time finally comes to get your mits on the car for the first time. It’s a mixture of excitement, trepidation, hope and torment! The van arrived at my house mid morning and we drove around to the build garage.

It was all go go go to unload and it didn’t take so long to get everything in place. Chassis was a LOT heavier than I thought it would be! Most of the rest was a lot lighter!

And that was it really, until after work when things could begin in earnest. First opening and sorting boxes a little into sensible places, removing bodywork items that aren’t going to be needed for a while (bonnet, seats, wheels, nose) to get some more room.

And then, with the help of my neighbour, John, and my brilliant Aunty, Carole, we got cracking with the front of the car.

We got the steering rack in place, added the front wishbones and the front left damper. When you put it on paper, it doesn’t sound like a lot, but it was enough for one evening.

There were some difficulties along the way but they were all overcome by the use of brain and brawn. Here’s a summary of our sticking points from day 1.

Lower wishbone, rear attachment
It’s just a pig to get it, and the washers in place. It’s a tight fit and there’s not a lot of finger room. I got most success from capturing the first two washers on the bolt, jiggled the wishbone until the bolt was in the bush, put one washer fully home on the other side and jiggled and levered the wishbone until the other washer just got started into the remaining gap. Then, gentle use of the soft mallet and a small screwdriver to help final positioning. As soon as I felt the bolt head through the final washer, it was then easy to jiggle the bolt through the other side and encourage it home with the mallet.

Upper wishbone, front attachment
This wouldn’t be so bad apart from the need to put the front light mount on as well. This sits over the front mounting point and the bolt passes through this, the body mounting point and the wishbone bush. It’s easier to lower the wishbone right down to get the headlamp mount on (it has a lip at the rear that needs to hook under the body mounting) then return it to level to try and align everything. I visually aligned everything before trying the bolt and I could see that it was possible to get it in without needing to file the holes larger on the headlight mount (something that Steve Grubb did have to do to get everything in  alignment). A small use of mallet to encourage bits and bobs and they were both done.

Front damper, top attachment
What a pig! Even getting the bolt out (it comes supplied in the chassis) is a right pig! It’s a pig for many reasons – but here’s a summary. There’s a lack of finger room, there’s a lack of room for the bolt when it’s out, there’s a lack of room when the bolt is going in, there’s a lack of room in the damper bush… I think the lack of room issue is fairly evident! The solution was one of time, patience, force and luck! Initially lining up the inside the damper to the body work, you get a feel for the position it needs to be in. Then, with an extremely slippy bolt (from the copper grease) you have to somehow get the bolt in alignment and apply inward pressure to get it to go into the damper. Issue is, there’s a chassis part that stops any finger/tool from pushing the bolt into place. The solution was to lever against the bodywork and the back of the bolt using a long screwdriver. Once it started making its way home, bigger and bigger implements were then used to lever it further until a round head allen key could be used to finish off the job. I’ve still got the other one of these to do and I think it may also help to not coat the main body of the bolt with copper grease until it’s started on its way (obviously, the thread will still need to be covered before starting.

And that’s where we got up to. It was too late to think about starting on the other damper, so that will wait for the next instalment but hopefully the lessons learnt will be valuable!